
For watch enthusiasts, swapping a strap or bracelet is the fastest and most cost-effective way to refresh a timepiece without buying a new one. However, the fear of scratching the lugs or using the wrong tool keeps many hobbyists from taking the leap. In this practical guide, we cover everything from measuring your wrist correctly to spring bar types, essential tools, and bench tricks to change watch straps at home safely.
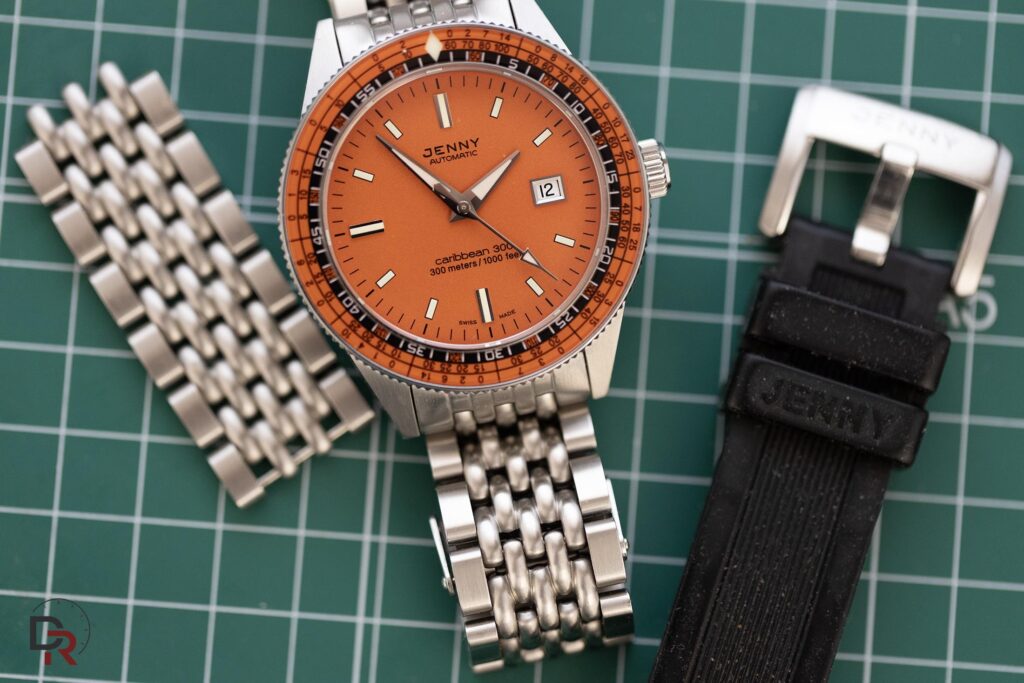
Author’s Note: This guide is written from the perspective of an enthusiast who loves personalizing their timepieces. I am not a professional watchmaker. If you own a high-end luxury piece, a watch of critical sentimental value, or doubt your skills, I always recommend visiting a trusted watchmaker. Spending $10 to $15 ensures a flawless fit without risk. But if you want to gain independence and enjoy tinkering at home, this is the way to go.
1. Essential First Step: How to Measure Your Wrist Correctly
Before purchasing a new strap or adjusting bracelet links, you need to know your exact wrist circumference. Incorrect measurements are the most common mistake, leading to straps that are too short or watches that spin awkwardly around the joint. Getting it right from the start makes selecting strap lengths far easier when shopping on platforms like AliExpress, Amazon, or from independent artisans (there is nothing more uncomfortable than a strap so long it almost wraps around twice). Here are two simple home methods:
- Method 1: Tailor’s Measuring Tape (Most Accurate). Wrap a flexible measuring tape around your wrist just above the prominent bone (the ulna), where you normally wear your watch. It should sit flush against the skin without digging in. Note the measurement in centimeters or inches.
- Method 2: The Paper Strip or Thread Trick. If you do not have a flexible tape measure, wrap a strip of paper or thread around your wrist. Mark the point where it overlaps with a pen, lay the strip flat against a ruler, and you will have your exact size.
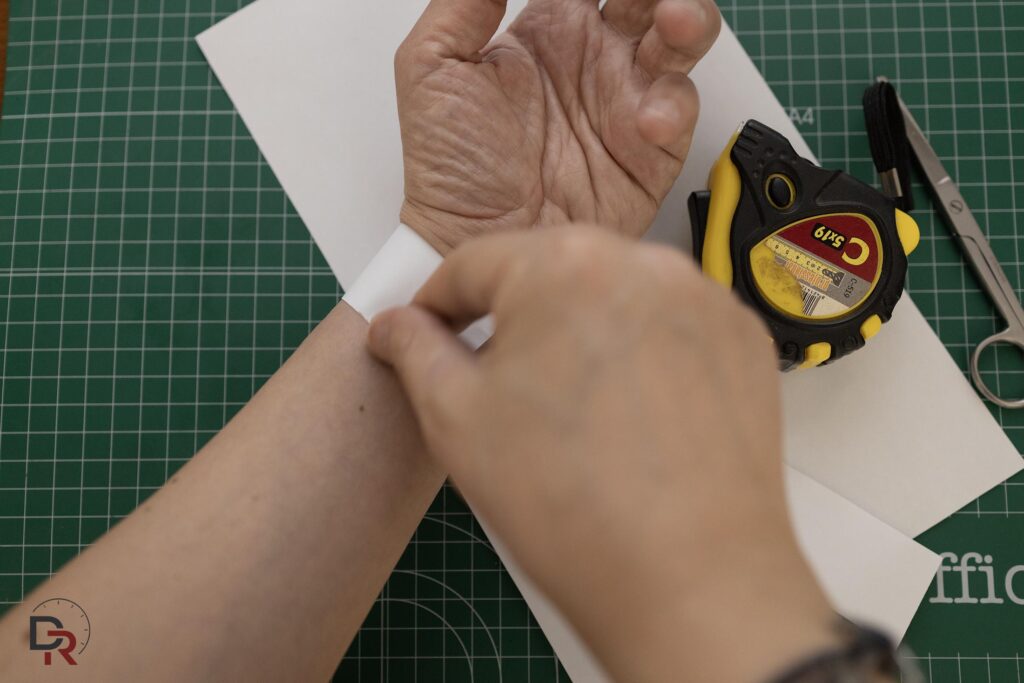
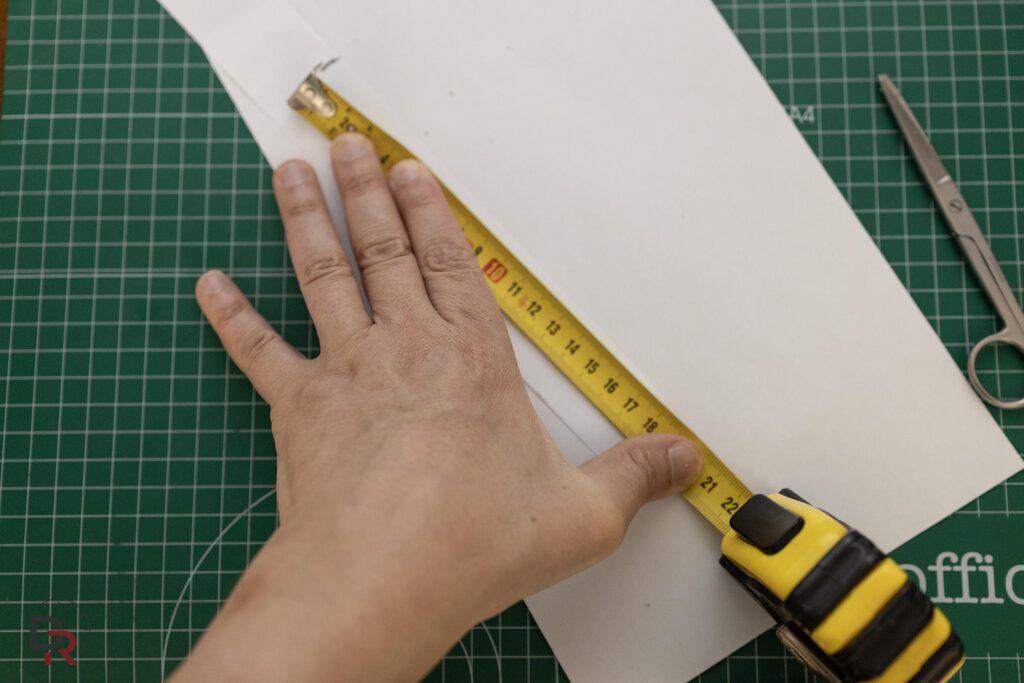
Comfort Rules for the Ideal Fit:
- Temperature and Swelling: Your wrist expands in heat or after exercise and contracts when cold. Always measure at rest and at room temperature.
- The Pinky Rule: When sizing a bracelet or fastening a strap, the ideal fit allows you to slide the tip of your pinky finger between the clasp and the underside of your wrist. If it does not fit, the watch will pinch when temperatures rise; if there is extra space, the watch case will flop around.
2. Types of Spring Bars: Understanding How They Secure
Before applying leverage, it is crucial to identify which type of spring bar attaches the strap or bracelet to your watch case:
- Quick-Release Spring Bars: The most modern and convenient option. They feature a tiny built-in lever on the underside of the strap that slides smoothly with a fingernail, requiring no tools whatsoever.
- Traditional Spring Bars: The industry standard. A small metal tube housing internal springs and retractable pivots at both ends that seat inside the lug holes. Removed by compressing the ridge with a fork spring bar tool.
- Heavy-Duty Spring Bars (Seiko “Fat” Style): Common in dive watches and brands like Seiko. They are significantly thicker (2.5 mm compared to standard 1.5 mm) with wider pivot tips (1.1 mm). They require patient technique or special “Skinny Fat” adapted bars when fitting standard leather or NATO straps.
- Screw-In Bars: Found in military-style or high-end watch cases. These do not use internal springs but threaded shafts, requiring precision screwdrivers (ideally with taped lug protection).
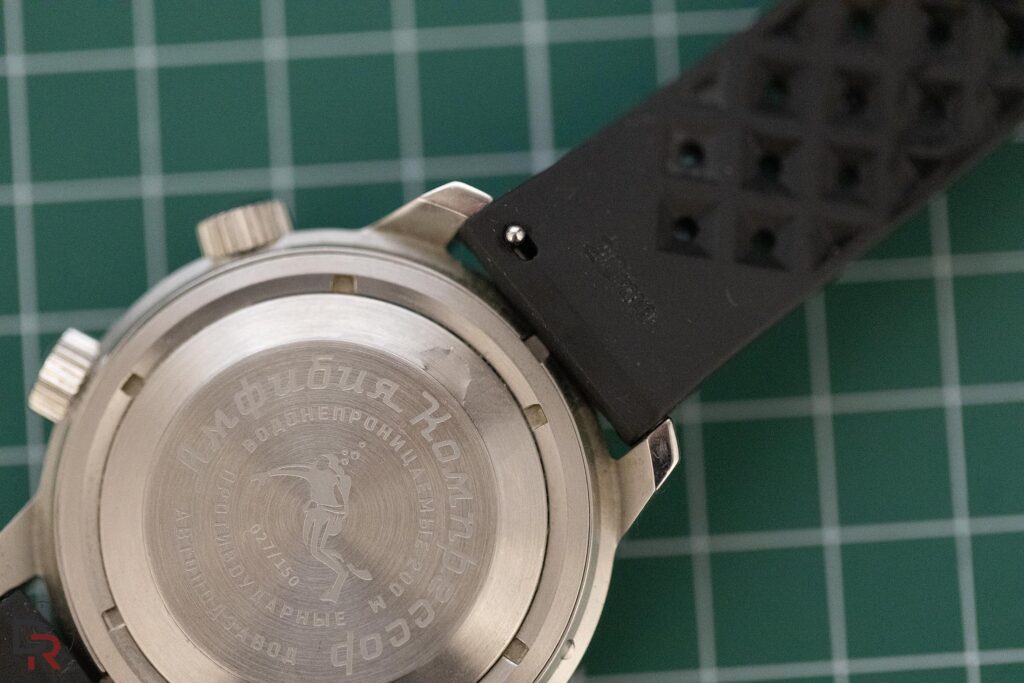
3. Recommended Tools: What Should Be on Your Workbench?
Working comfortably and avoiding tragic slips across brushed or polished steel requires the proper gear:
| Tool | Primary Use | Recommendation |
|---|---|---|
| Fork Spring Bar Tool | Removing spring bars from leather, rubber, and fabric straps. | Models with replaceable fine tips (e.g., Bergeon 6767-F). |
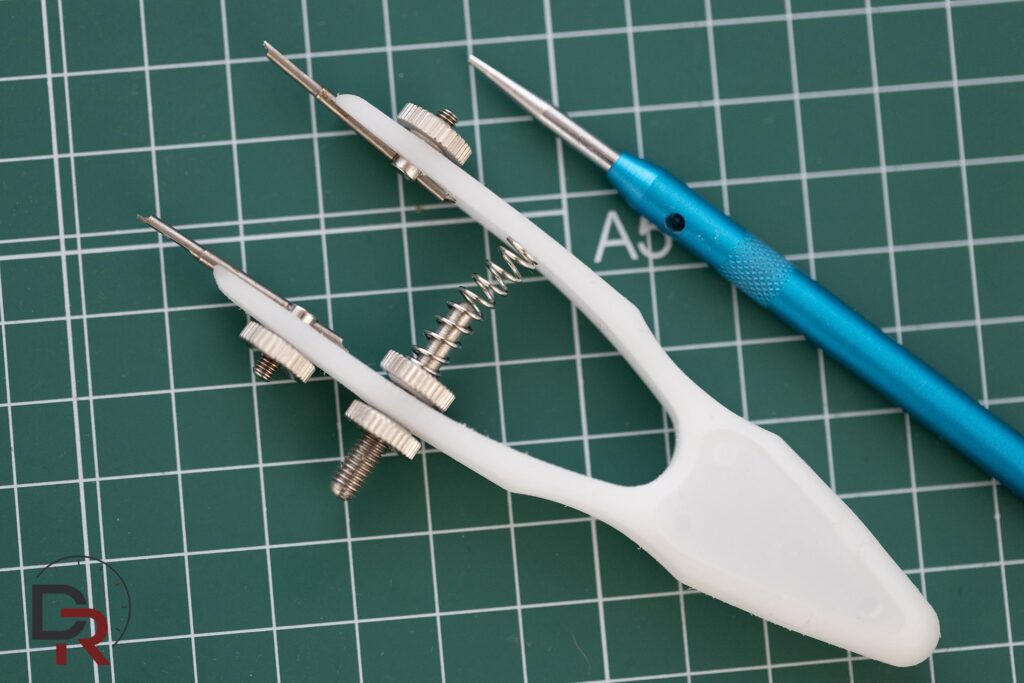
| Spring Bar Pliers | Simultaneously compressing both spring bar tips on steel bracelets. | Tweezer-style removal tool for clean extraction without play. |
| Masking Tape / Painter’s Tape | Scratch protection on the back of the watch lugs. | Essential for every strap change. |
| Flathead Screwdrivers | For screwed links and screw-in lug bars. | Precision sizes (1.0 mm, 1.2 mm, or 1.4 mm). Buy high quality; the blade must fit snugly in the screw slot. Horotec is comparable quality at a better price than Bergeon. |
| Work Mat | Rubber or microfiber surface to protect crystal and case. | Non-slip watchmaker mat or synthetic self-healing cutting mat. |
| Watchmaker Loupe / Monocular | Precision inspection pre- and post-assembly. | Ideal for verifying that spring bar pivots sit fully in the lug holes. |
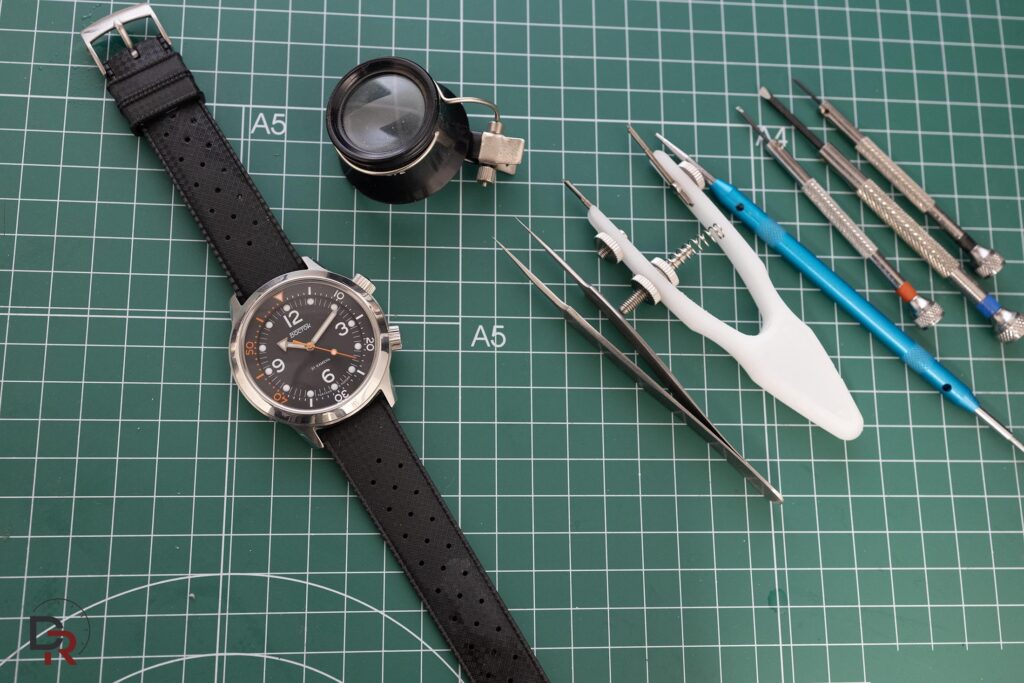
If you need precision equipment or a starter kit for your watches, check out professional options like Bergeon or entry-level sets on Amazon. However, remember that we often don’t need many of the tools bundled in those large kits—a few quality essentials are always better than a box of doubtful tools.
4. Removal Methods by Material and Bracelet Type
Leather, Rubber, and Fabric Straps
These are the easiest to manage because the material flexes. Insert the V-shaped tip of your spring bar tool between the strap edge and the back of the lug, catch the spring bar ridge, gently push inward toward the center of the watch, and lift the strap away.
That is the theory, but slips happen quickly when rushing. Workspace preparation is just as vital as the tool itself.
🛠️ Workshop Tip: Organization & Workspace
Thoroughly clean your desk and set down a non-slip mat (a standard green cutting mat works wonders). Always work under the assumption that a spring bar will launch into the air. On a clean surface, finding a tiny steel pin takes seconds; on a cluttered desk, it vanishes forever.
Steel Bracelets: Mesh, Oyster, and Jubilee
With metal bracelets, difficulty varies based on end-link design and tolerance tightness:
- Milanese / Mesh Bracelets: Lacking rigid end-links pressed against the case, mesh handles much like leather. The spring bar comes out easily by applying tool leverage from the underside.
- Oyster-Style Bracelets: Solid end-links fit with millimeter precision. Compress one end of the spring bar, apply light outward pressure with your thumb to keep it from slipping back into the lug hole, then immediately release the opposite side to slide the end-link straight out.
- Jubilee-Style Bracelets: Highly flexible five-link rows can cause end-links to twist and bind if forced. Use spring bar pliers or exercise patience while compressing both sides evenly.
💡 Golden Rule
ALWAYS Protect Lug Undersides with Masking Tape
Before touching any metal tool to the watch, stick a small piece of painter’s tape or masking tape over the back of all four lugs. If your tool slips under pressure, it will scratch the tape instead of your watch steel.
Special Case: Vintage Watches (Seiko to Omega)
When working on vintage pieces (1960s–1980s), pause and inspect the case design before applying force:
- Vintage Seiko: Often used shoulderless spring bars designed specifically for drilled lugs. If a previous owner installed shoulderless bars on an undrilled vintage case, your tool fork will have no flange to catch. The cleanest solution is carefully cutting the spring bar using fine precision wire cutters.
- Vintage Omega & Swiss Pieces: Folded sheet-metal hollow end-links bend easily if pried carelessly. Decades of wear can also leave spring bars rusted or seized. Applying a microscopic drop of penetrating oil with a toothpick and waiting a few minutes helps free stuck components safely.
5. How to Adjust a Metal Bracelet Length
Unlike leather, rubber, or fabric straps—which have fixed lengths adjusted via the buckle—metal bracelets arrive sized for large wrists. Unless custom-sized by a boutique maker before shipping, you will likely need to adjust link length yourself.
Follow this step-by-step approach for accurate sizing:
- Initial Fitment: Mount the full bracelet to the watch case without removing any links first.
- Wrist Test & Link Count: Put the watch on, close the clasp, and pinch excess links together until comfortable (remember to leave room for your pinky tip). Count the total number of removable links to extract.
- Clasp Centering Rule: Distribute link removal evenly across both sides. If removing an odd number of links (e.g., 3), remove 2 from the 6 o’clock side and 1 from the 12 o’clock side. This keeps the watch head centered and prevents the clasp from pulling sideways.
- System Inspection: Examine link edges and inner faces carefully. Bracelets use either screw-in pins or friction pins. Friction pins feature small arrows stamped on the link undersides indicating which direction to push pins out.
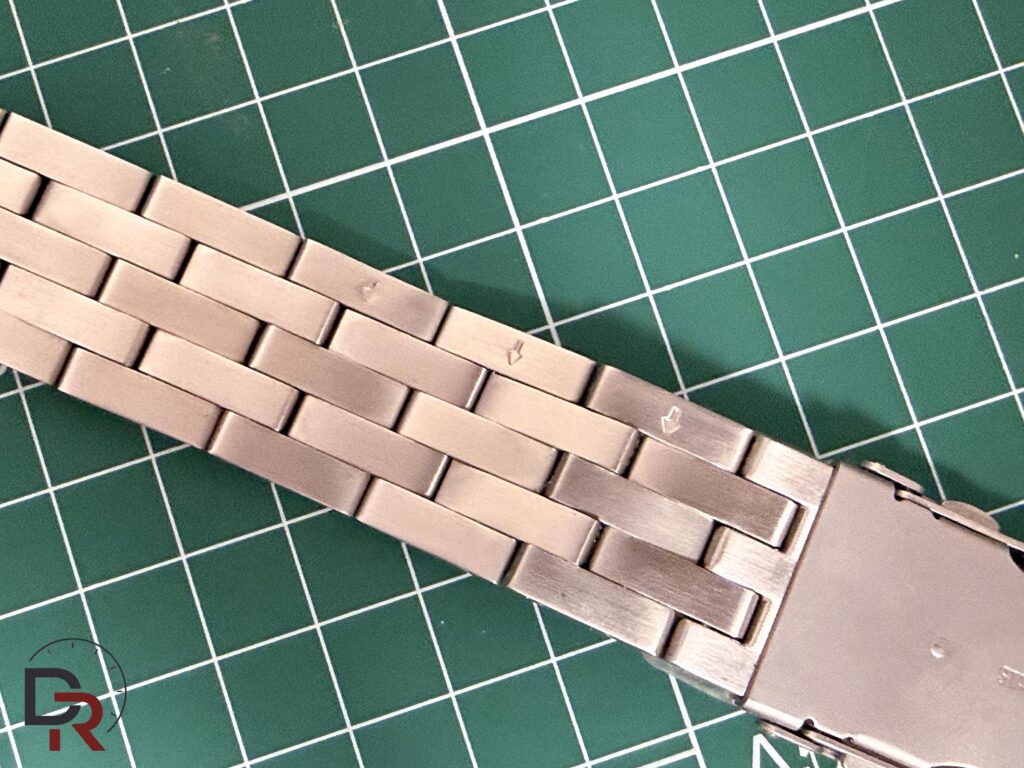
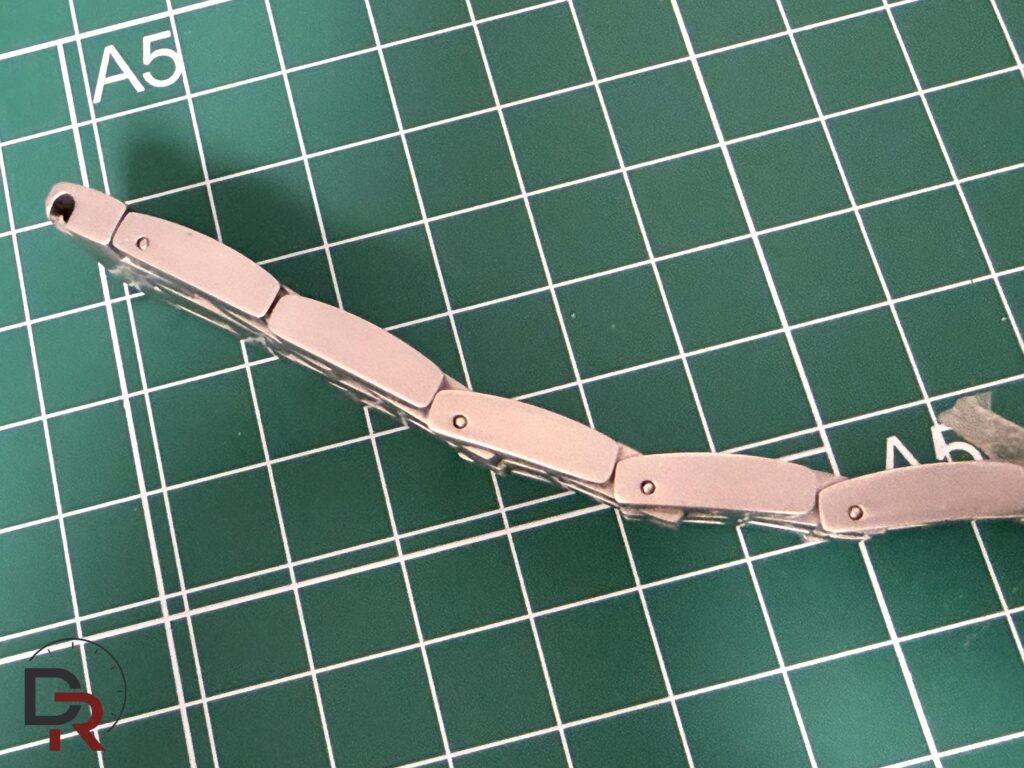
Safety Motto: Examine the bracelet carefully before turning a screw or pushing a pin. If a pin refuses to move, a screw feels seized, or you worry about marring the steel finish, visit a watchmaker. Paying a small fee is better than damaging a new bracelet.
6. Screwed Links & Threadlocker Usage
Many bracelets and tool watches rely on tiny precision screws rather than push pins. Follow these guidelines to avoid stripping threads or scratching steel:
- Caution with threadlockers: Unless you have experience working with micro-screws, we advise against applying liquid threadlockers at home. Using too much product can easily bind the link mechanism or overly lock the threads. If you notice a screw coming loose during daily wear, have a watchmaker apply the correct amount of low-strength compound.
- Factory-Locked Screws: If a screw refuses to turn, do not force the screwdriver head. Apply localized mild heat with a hair dryer for a few seconds to soften factory threadlocker, then turn gently.
- Back-Threading Technique: Hold screws perfectly straight before applying pressure. Pick up the screw with fine tweezers, align it with the threaded hole, place your screwdriver blade on top, and turn slightly counterclockwise until you feel a light click. That click indicates the threads have engaged properly. Then thread clockwise smoothly. If you meet resistance, stop immediately to avoid cross-threading.
7. Final Safety Check
Once your new strap or bracelet is installed, listen or feel for the distinct “click” confirming spring bar ends have seated fully inside the lug holes. Place the watch flat on your work mat and tug firmly on both strap sides (with reasonable force) to verify that the spring bars are secure. It is far better for an improperly seated pin to release over your desk than while walking outdoors.
💡 Bench Thought: The Importance of a Trusted Watchmaker
Throughout this guide, I have emphasized visiting a watchmaker whenever a task exceeds your comfort zone, and I fully stand by that advice. However, there is a crucial caveat: always go to a watchmaker you truly trust.
We all seek a fair price for a simple service, but choosing solely based on the cheapest option or walking into an unfamiliar shop can prove costly. Many collectors know the painful surprise of picking up a watch after a routine strap or bracelet adjustment only to find marred screw heads, tool slips, or deep scratches on the inside of the lugs. A skilled, trusted watchmaker charges not just for labor, but for the meticulous care and respect they show toward your timepiece.
🤝 Transparency Note: Several product links recommended in this guide are Amazon affiliate links. Purchasing through these links costs you nothing extra while generating a small commission for Debajo del Reloj, directly supporting our independent coverage, hosting costs, and in-depth studio reviews. Thank you for your support!