After covering how to get the most out of your smartphone camera in the first part of this guide, it is time to take things a step further. When the goal is to capture the true three-dimensionality of a timepiece, understanding the physical properties of the crystal, the texture of the dial, and the behavior of light becomes essential. High-end watch photography is, in essence, learning to sculpt with reflections.
1. The Physics of Crystal: Acrylic, Mineral, and Sapphire
The first major challenge on the studio table is the crystal. Not all materials react the same way to light, nor do all geometries illuminate from the same angle:
- Acrylic / Plexiglas: Commonly found in vintage and collectible pieces. It is prone to micro-scratches that harsh light amplifies instantly, but it offers a unique visual warmth and soft reflections.
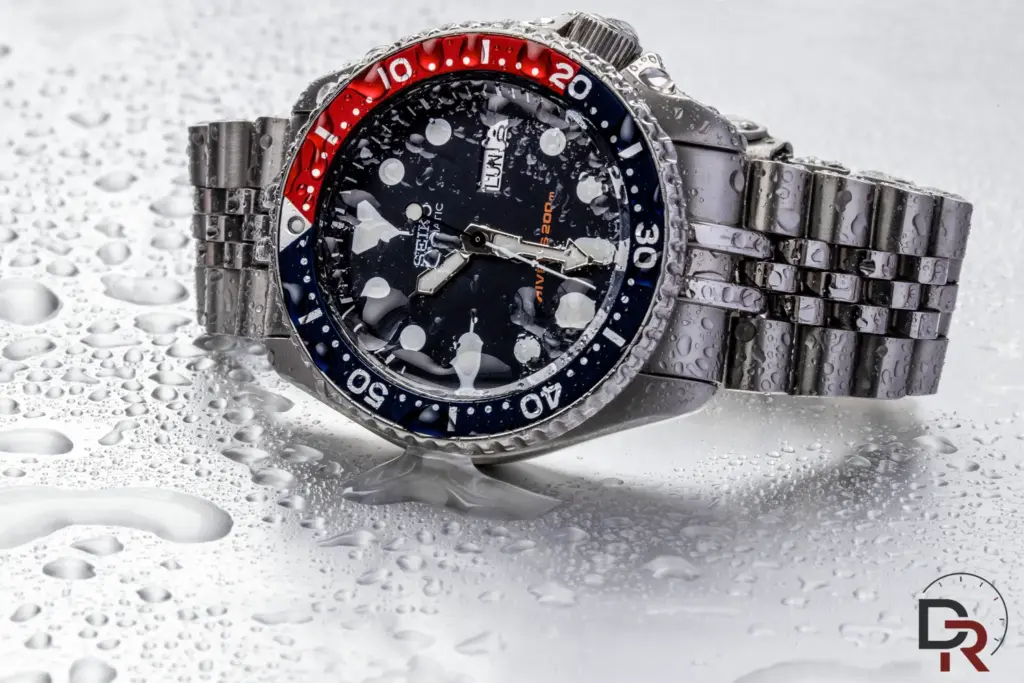
- Mineral Crystal: Standard in entry-level watchmaking (such as the Seiko 5 series). It produces harsher, specular reflections that require large diffusion panels.
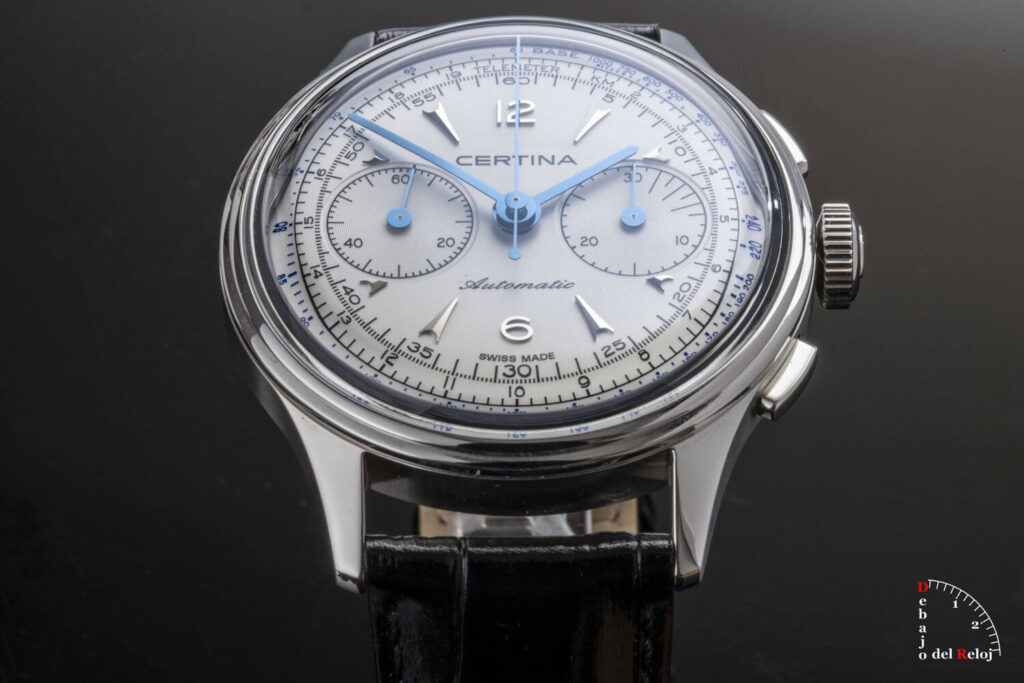
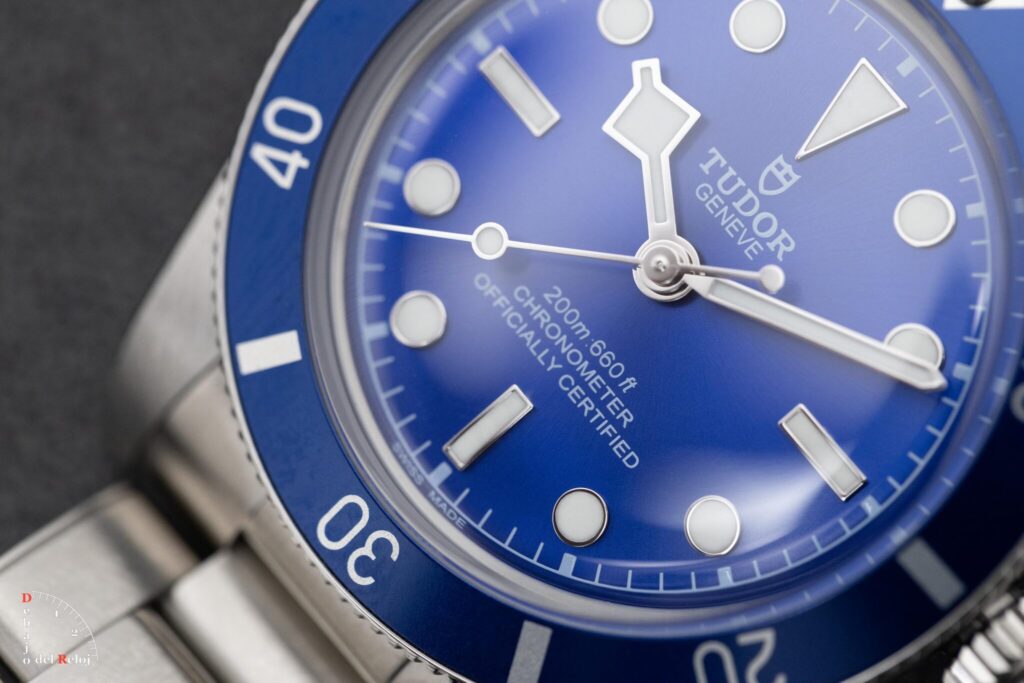
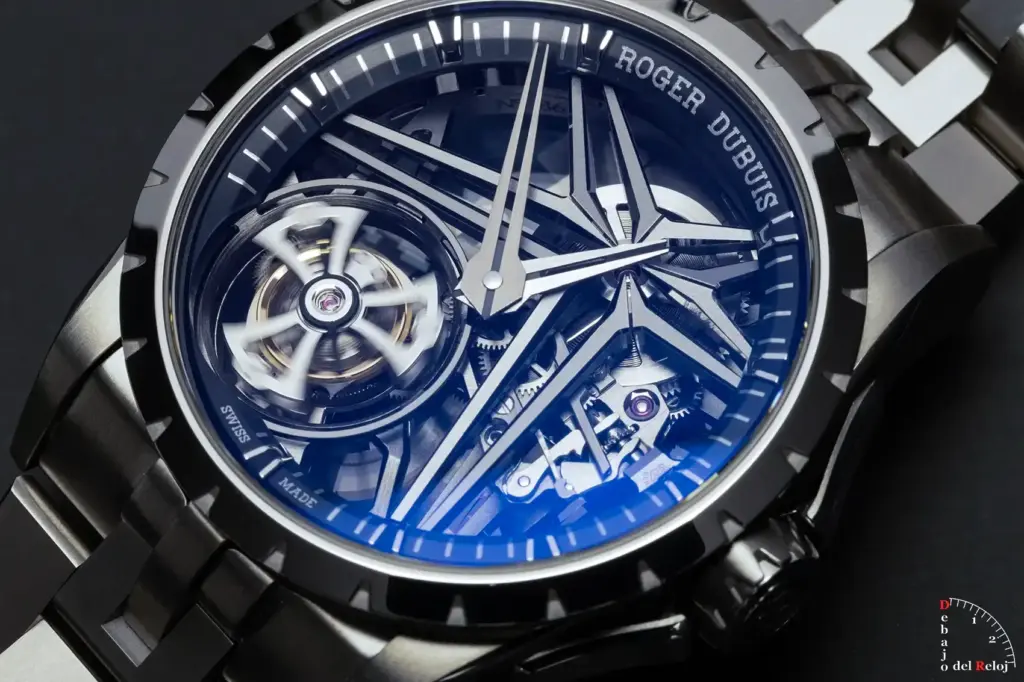
- Sapphire Crystal: The benchmark in fine watchmaking. Its high density creates complex refractions, especially depending on the cut: flat crystals are easy to manage by tilting the light source, while box-shaped, domed, or double-domed geometries return arcs of light that require lateral black cards to cut unwanted glare.
💡 The Anti-Reflective (AR) Coating Challenge
Pay close attention to outer AR coatings: while they eliminate reflections, they often project a bluish or violet hue under certain light angles. If the outer coating shows micro-wear from daily use, lateral studio light will reveal it in the photo. In such cases, indirect light bounced off white panels is preferred.
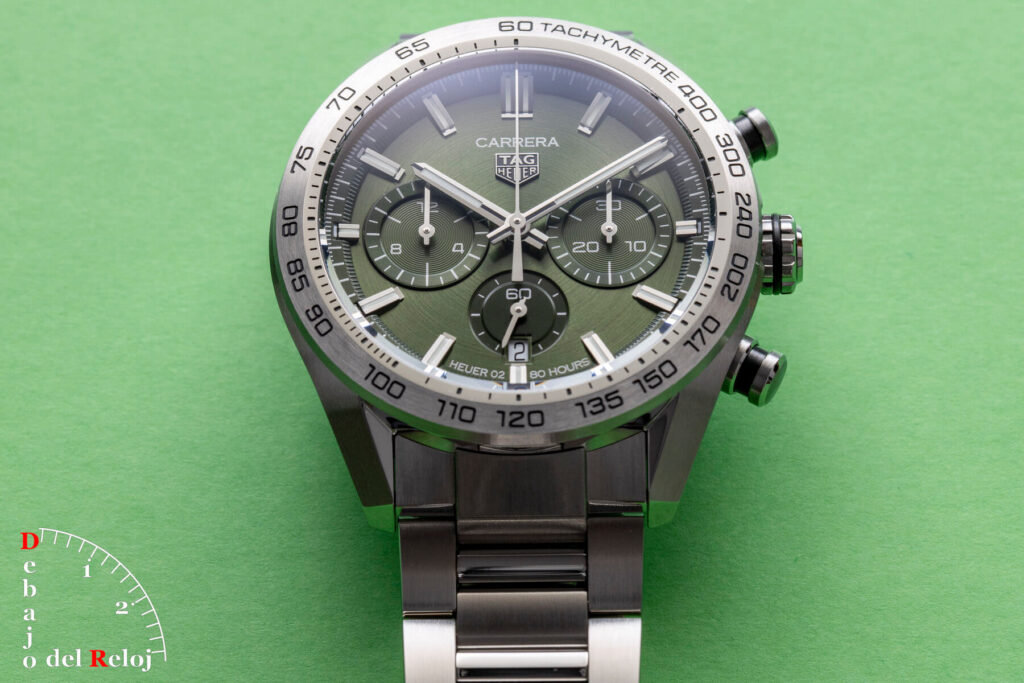
2. Dial Architecture: Textures and Depth
A dial is not a flat surface. From polished lacquer to skeletonized dials, each finish demands a specific lighting scheme to showcase its real volume:
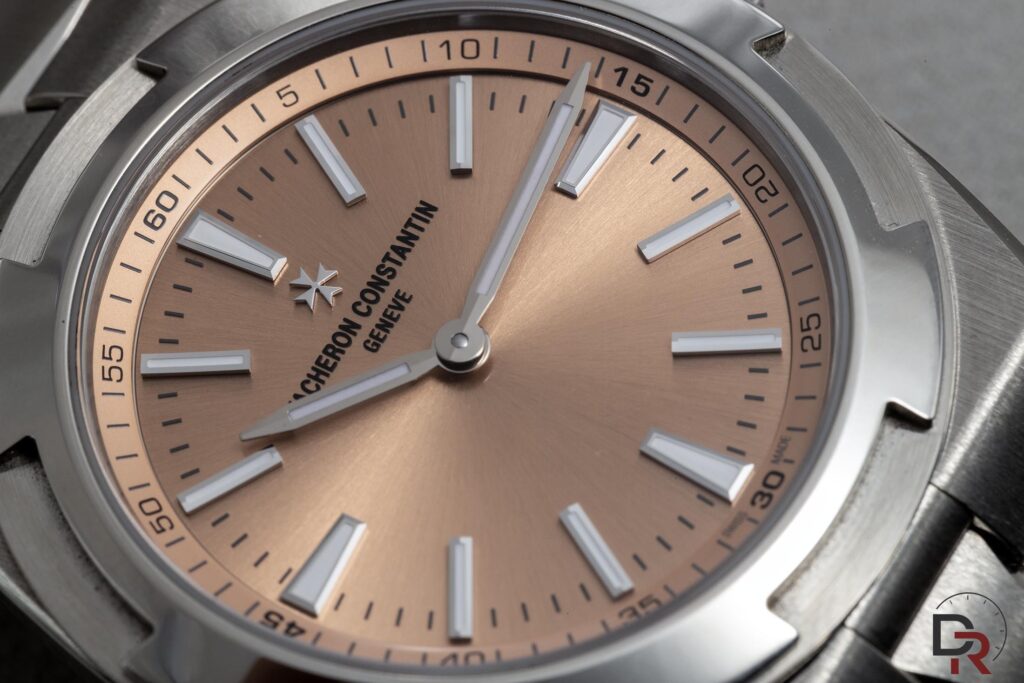
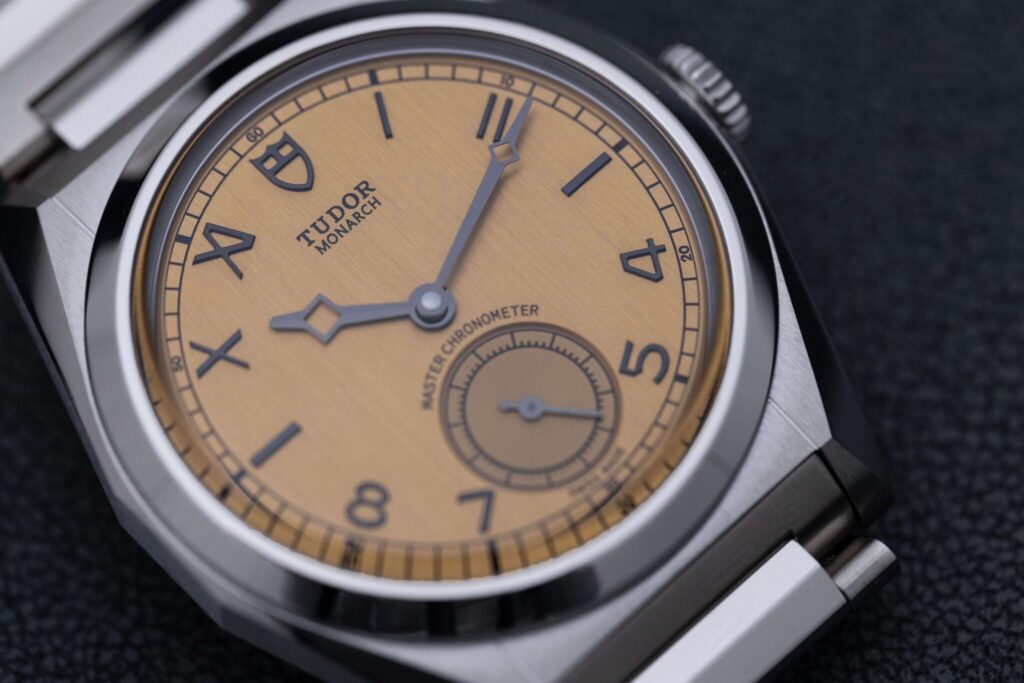
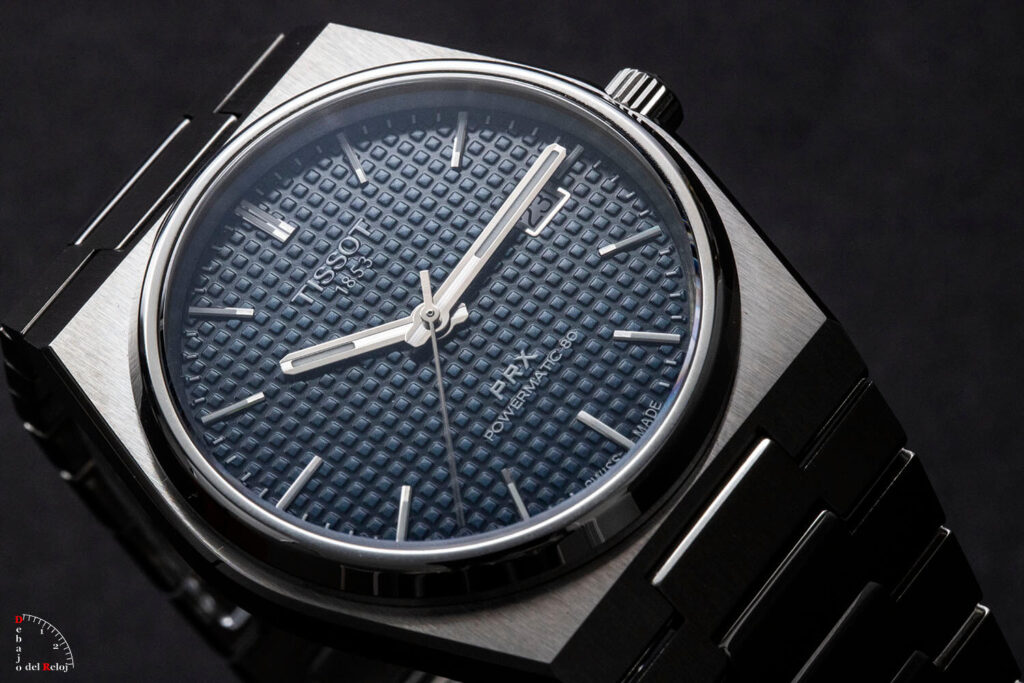
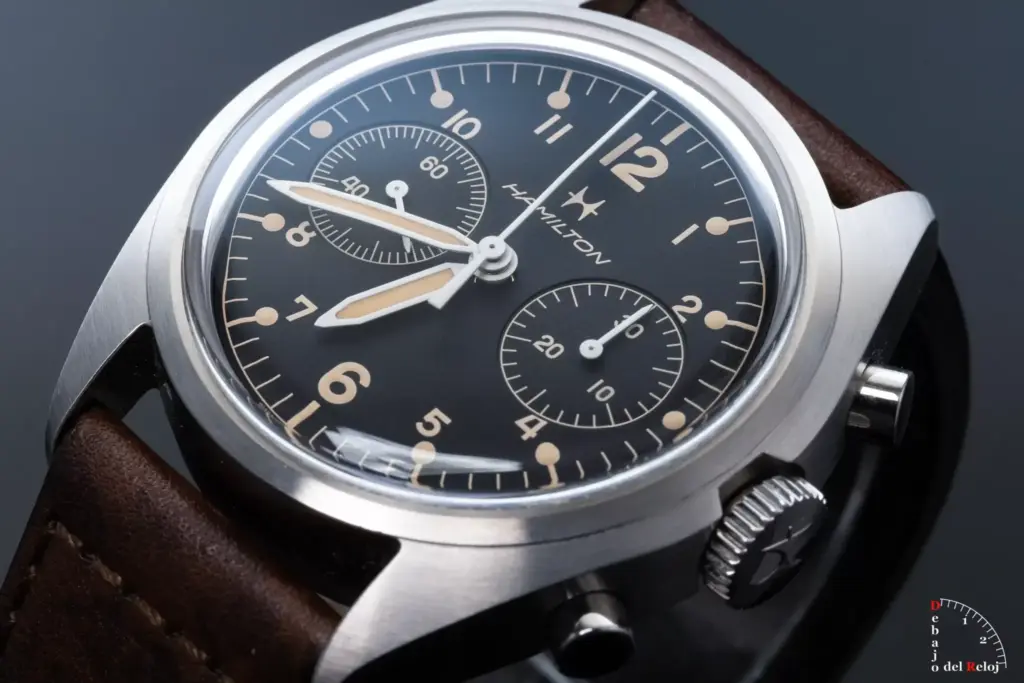
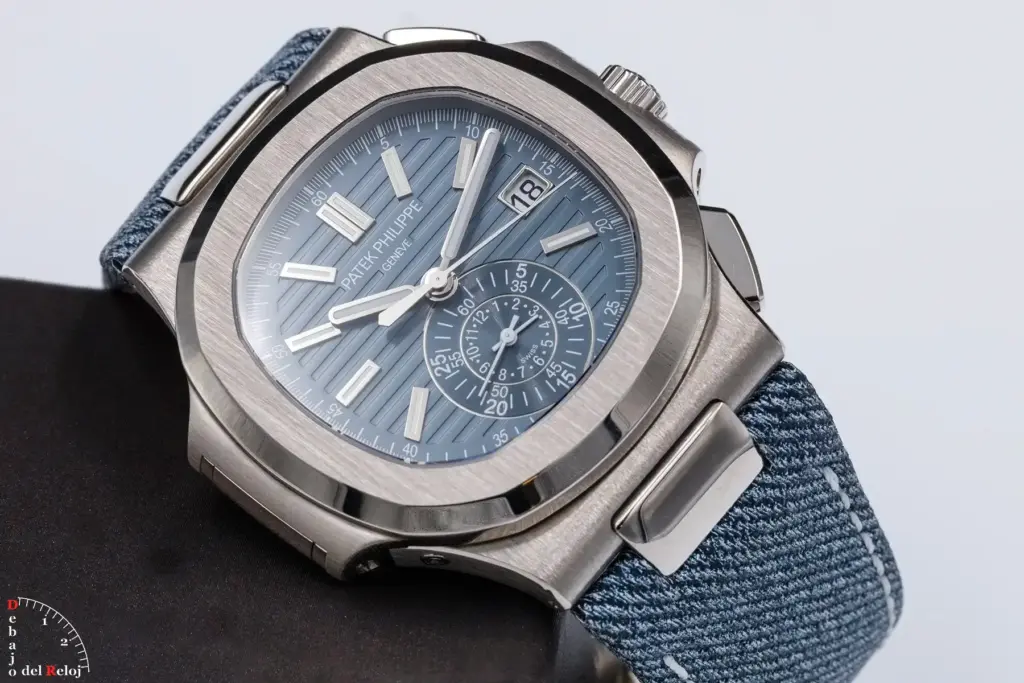
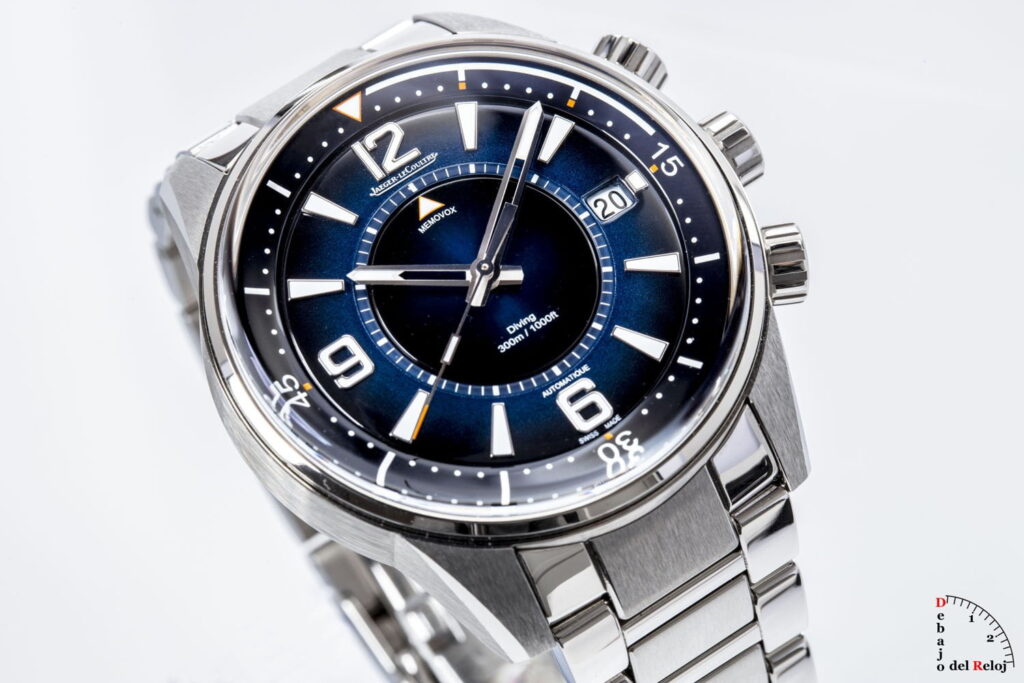
- Guilloché Patterns and Sunray Finish: Direct frontal light flattens textures. To emphasize the relief of a Clous de Paris pattern or the radial gleam of a sunburst finish, the key is positioning the light source at a raking lateral angle to generate micro-shadows.
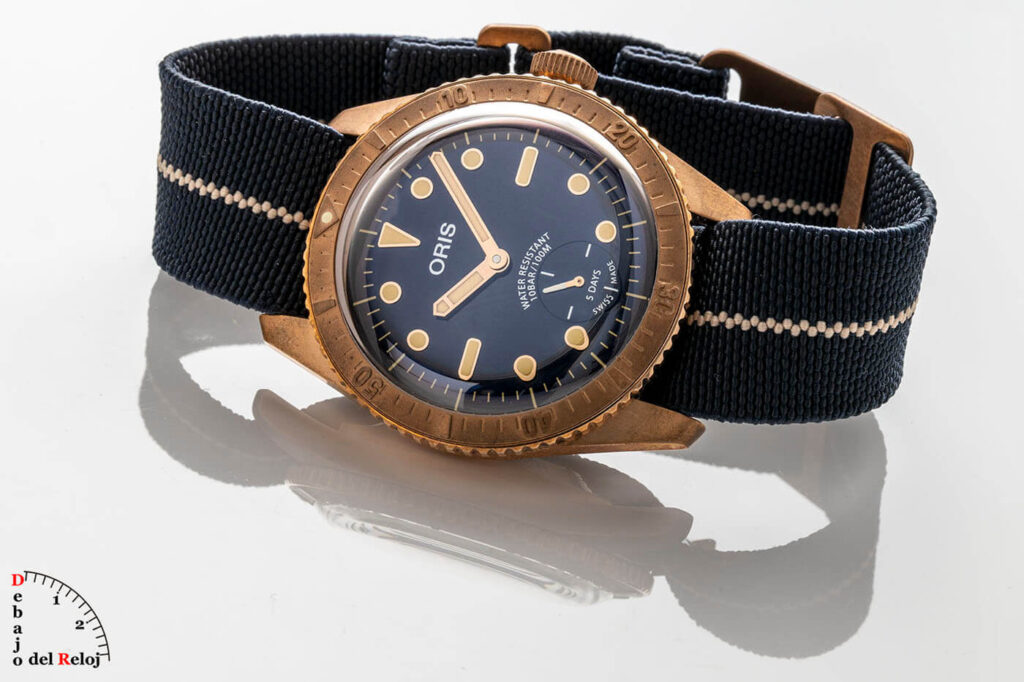
- Sandwich Dials and Applied Indices: Recessed cutouts or applied hands and indices cast their own shadows. Elevating the key light slightly adds volume and three-dimensionality to the dial.
- Grand Feu Enamel and Ceramic: The almost liquid depth of enamel or the vitreous gloss of ceramic require white card reflectors placed opposite the light source to create soft gradients instead of blown-out highlights.
📜 Historical Note: The Pursuit of Legibility
Historically, matte finishes, vertical brushing, and sandwich dials originated in mid-20th-century military aviation and dive watches to prevent sun glare from betraying a soldier’s position or obscuring the time. Today, those same functional finishes transform the dial into a canvas of art for the photographer’s eye.
3. The Technical Step Up: Camera, Tripod, and “Fake Shortcuts”
While modern smartphones yield impressive results for wristshots, stepping up to studio photography requires consistency. Using a sturdy tripod and a remote shutter release completely eliminates camera shake, allowing you to shoot at low ISOs and stop down the aperture to maximize depth of field. From there, having an uncluttered space, a good variety of backdrops, diffusers, reflectors, and continuous LED lights will make all the difference in controlling the scene.
Avoid viral shortcuts like cheap clip-on smartphone macro lenses. Although they seem to offer high magnification on a budget, they introduce chromatic aberration, edge distortion, and a severe loss of contrast on key watch details. If real sharpness across polished surfaces and hands is what you aim for, a dedicated macro lens or a solid tripod setup is the way to go.
Furthermore, practical and affordable solutions abound, such as mini LED panels or flashlights with adjustable color temperature. Keep in mind that a wristwatch has modest physical dimensions, so elaborate setups are unnecessary: a pair of compact, budget-friendly LED panels are more than enough to start practicing simple lighting schemes, experimenting with shadows, and discovering which light style aligns best with your personal vision.
⚙️ Pro Tip: Manual Focus and Macro Stabilization
In macro photography, always prioritize manual focus over autofocus to place the focal point precisely where intended (e.g., the center hand stack or the brand typography). Additionally, remember to turn off lens or in-body image stabilization when mounted on a tripod: tiny motor micro-corrections compensating for non-existent movement are the ultimate enemy of razor-sharp macro shots.
4. Creativity, Resourcefulness, and Working Around Limits
Embracing current limitations—rather than hiding them—is the first step toward unlocking creativity. Often, when reviewing a final photo, we feel it doesn’t match the presence of the watch in hand. That happens because poorly managed light flattens textures, removes nuances, or distorts authentic colors. Thoughtful lighting isn’t about disguising the watch, but restoring its real-life visual fidelity.
A fundamental exercise before building your setup is active observation: analyze photos you admire. Pay attention to shadow placement, highlight direction, tone gradation, and contrast along the bezel facets. Reverse-engineer the image to figure out light placement and modifiers used. Training your eye is half the work.
📸 The Paper Mask Hack for Smartphone Shots
A major obstacle when taking top-down shots with a phone is the crystal reflecting the camera’s dark silhouette and hand outline. The fix? Take a piece of white cardstock or paper, place it over the back of your tripod-mounted smartphone, outline the camera module, and cut it out. Fitting this white mask leaves only the camera lens exposed, eliminating phone reflections while acting as a seamless fill reflector.
From there, don’t hesitate to experiment with material interactions. Part one covered using window curtains to diffuse natural light. Now, place a simple sheet of white paper opposite the window, angled toward the dial: soft fill light will magically illuminate shadow areas without extra spending.
Need overhead or fill light? Shining a home flashlight at the ceiling above the watch through tracing paper or a diffuser disk creates a high-quality makeshift softbox. Resourcefulness, a steady tripod, and a timer make all the difference.
💻 Next Step: Tethered Shooting and Digital Post-Processing
As expectations grow, working live on a computer screen (tethering) and utilizing professional software like Adobe Photoshop, Lightroom, or Capture One becomes essential. Removing invisible dust specs, localized contrast tweaks, and focus stacking are advanced post-production techniques we will cover in an upcoming dedicated article on horological editing.
Quick Gear Guide by Level: From Smartphone to Studio
You don’t need thousands of euros to start. The key is matching gear to your current technical level and scaling up over time:
| Level | Device / Camera | Lighting & Control | Support & Stability |
|---|---|---|---|
| 1. Basic (Smartphone) |
Smartphone Camera (Alternatives: iPhone 15/16 Pro or Samsung Galaxy S24 Ultra for RAW control) |
SMALLRIG P96L RGB Light: View Ulanzi VL49 LED on Amazon + White paper card as reflector |
Tabletop Tripod: View Tabletop Tripod on Amazon Phone Holder Mount: View Smartphone Mount on Amazon |
| 2. Intermediate (APS-C / Mirrorless) |
Fujifilm X-T50: View on Amazon (Other current options: Sony A6700, Canon EOS R10) + 60mm Macro Lens View on Amazon |
Battery-powered LED Light (Godox recommended) + 5-in-1 Diffuser Reflector Disk | Tripod with Lateral Center Column: Manfrotto, Vanguard, Sirui… |
| 3. Advanced (Full Frame) |
Sony A7 IV: View on Amazon (Other options: Canon EOS R6 II, Nikon Z6 III) + FE 90mm f/2.8 Macro G Lens | Continuous Lights + Softboxes | Heavy-Duty Tripod + Cable Release / Tethering |
🤝 Transparency Note: Several product links recommended in this guide are Amazon affiliate links. Purchasing through these links costs you nothing extra while generating a small commission for Debajo del Reloj, directly supporting our independent coverage, hosting costs, and in-depth studio reviews. Thank you for your support!